
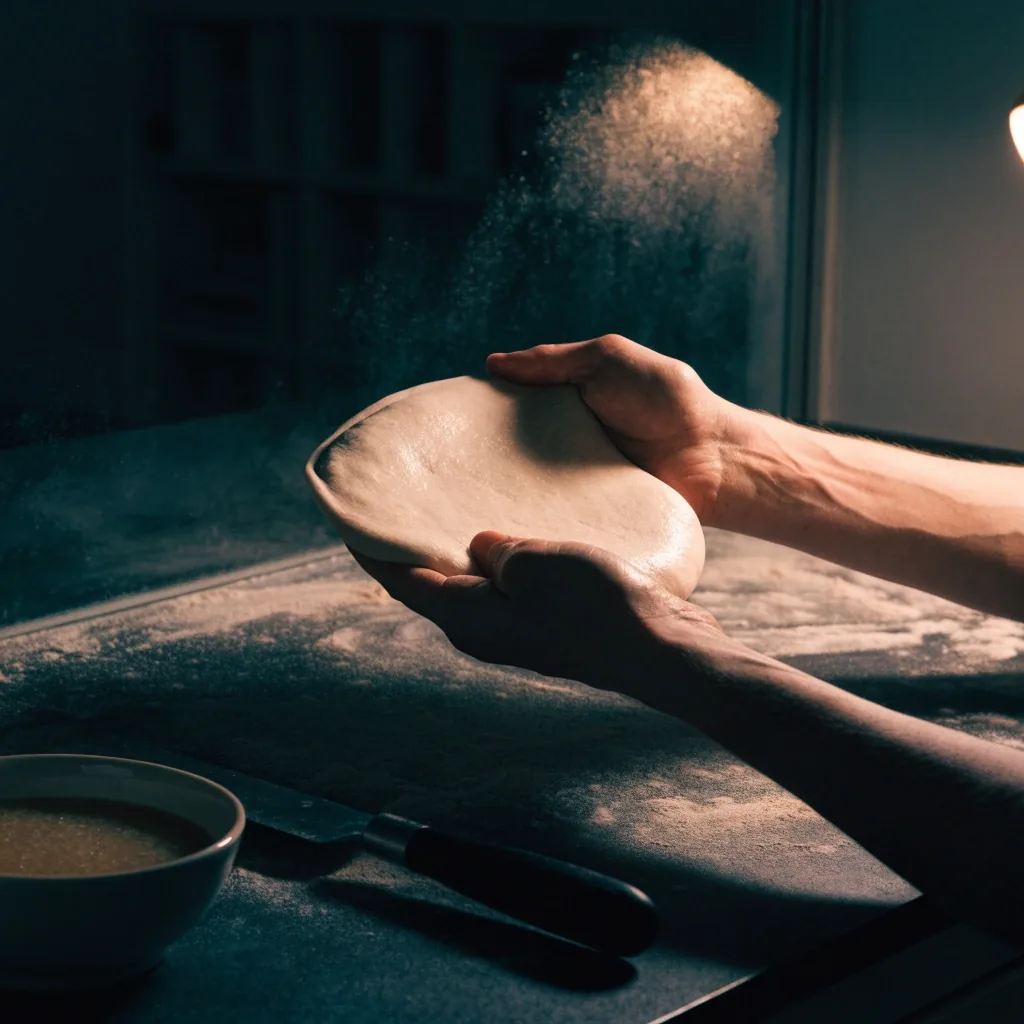
Bake profile · home oven
Pizza Baking Guide for Home Cooks
Dough hydration, cold ferment, proofing, shaping and the bake — the reasons behind every recipe in Dion's Pizza Cookbook, so you can adjust when something goes sideways.
What this guide covers
Every technique here assumes three things: a standard home oven, a digital scale, and a baking steel or stone. That is the whole kit. Nothing below depends on a specialty oven or a commercial mixer, and every number is given by weight so a cup scoop can't quietly throw off your dough.
The order matters less than the loop. Read hydration and cold ferment first, then proofing and shaping, then the bake setup. Once you have baked two or three pies, come back to the troubleshooting notes at the end — they explain most of what goes wrong.
Compare pizza styles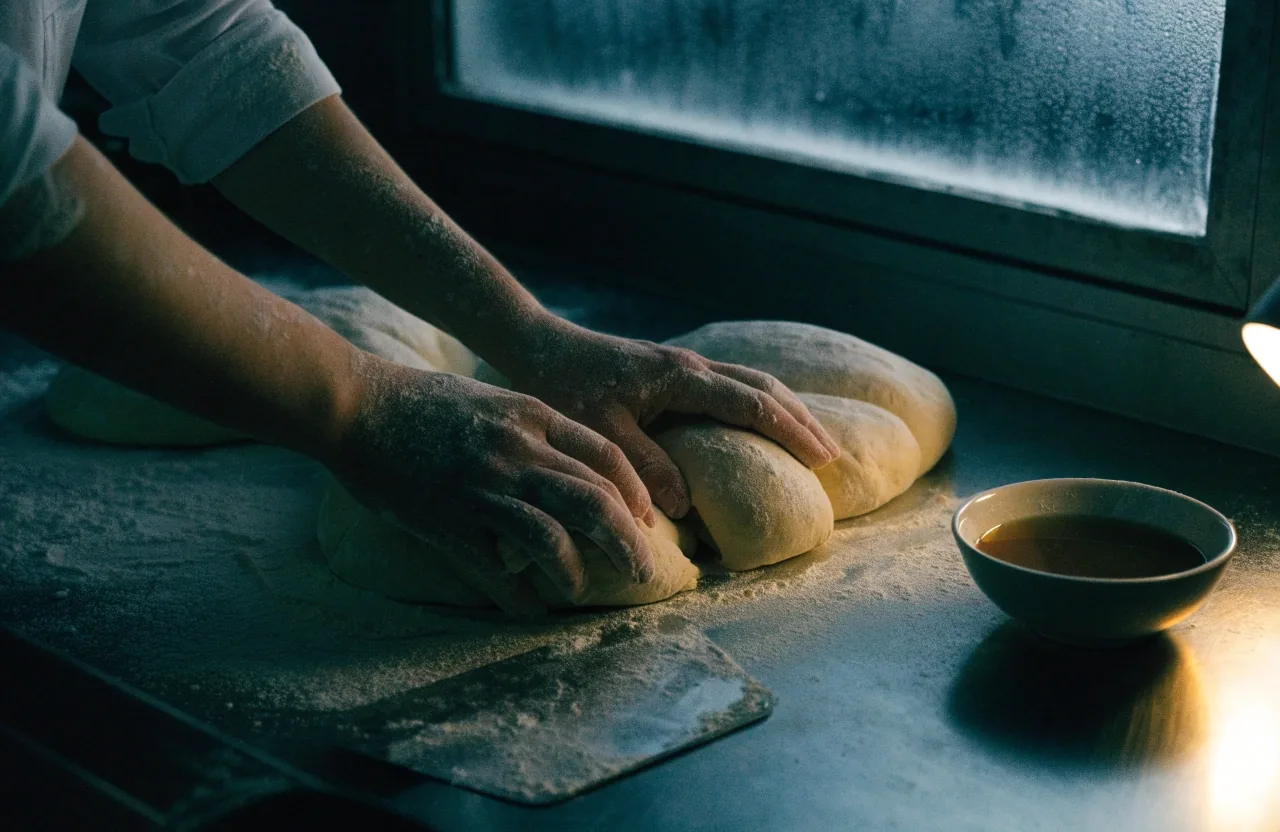
Weigh everything. Two dough balls, one scale, no guesswork.
Dough hydration, explained
Hydration is water as a share of flour, measured by weight. It is the single dial that decides whether a dough feels like clay or like batter — and it is the first thing to change when a recipe fights you.
Water as a share of flour, by weight
A 60% dough is firm and easy to handle. An 80% dough is wet, sticky and hard to shape, but it gives a more open crumb once it bakes. Most styles in the book sit between 62% and 70%, with Neapolitan and al taglio at the higher end.
If you are new, start at 62% and work up. The dough chapter of Dion's pizza book walks hydration from 60% to 80% in the same recipe shape, so you can feel the difference in your hands before committing to a full batch of one style.
One practical note: wet dough is not automatically better dough. Higher hydration buys an airier crust only when the flour can carry it and the bake is hot enough to set the structure. If your oven runs cool, 70% will taste flatter than 63%.
Cold ferment and why it matters
What it does
Cold ferment means letting the dough rest in the refrigerator for a day or more instead of at room temperature. The cold slows yeast activity, so flavor compounds build while the dough stays relaxed and easy to stretch.
Why it matters
A 24-hour cold ferment changes the crust more than any topping will. You get a browner, more savory rim and a dough that opens under your knuckles instead of snapping back at them.
How to run it
Mix the dough, cover it, and put it in the fridge. That is the technique. The book covers timing, fridge temperature, and how to tell when a tub has gone long enough or is starting to tire.
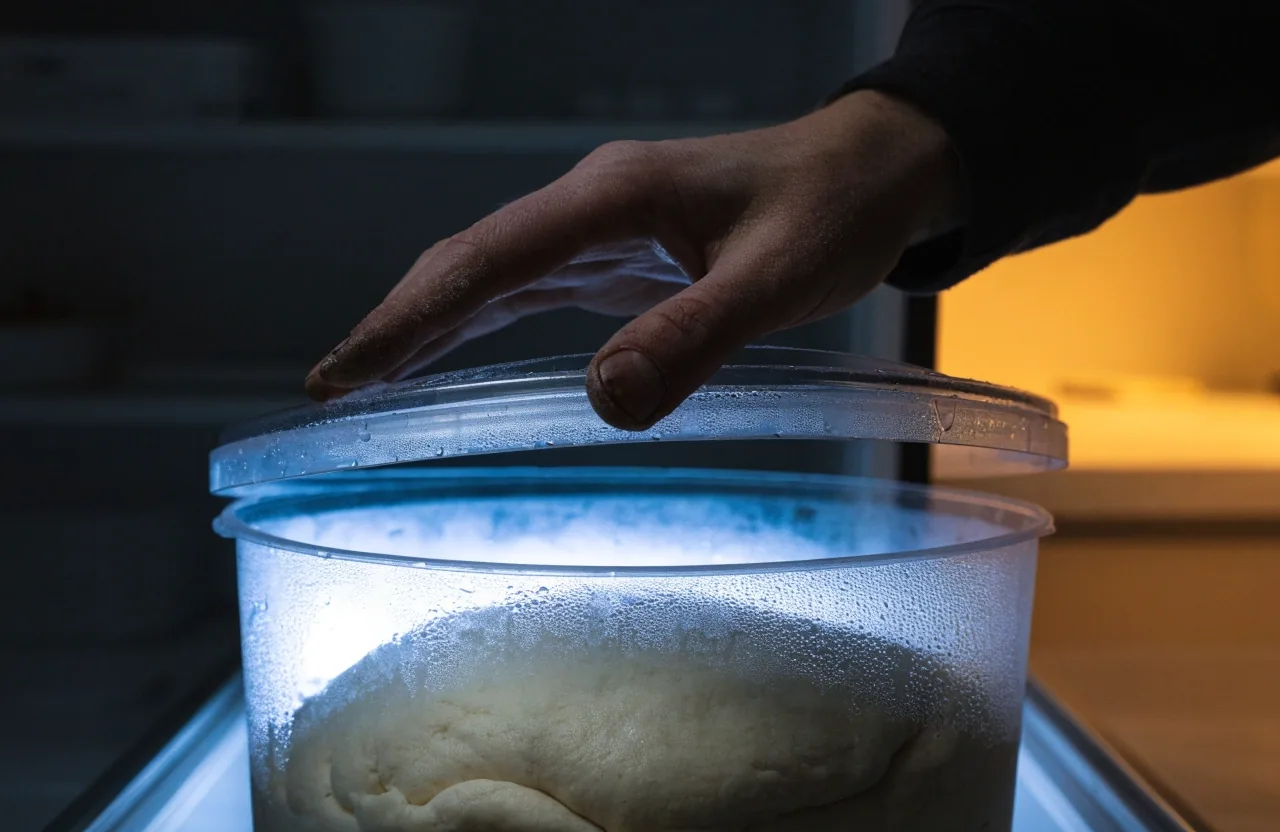
A cold ferment is the cheapest upgrade in home pizza. It costs you a night of fridge space and gives back a crust that tastes like you did more work than you did.
Proofing and the windowpane test
Proofing is the final rise before shaping. It is the stage where dough goes from a tight ball to something that stretches without fighting back, and it is the stage where most home bakes go wrong — usually by being cut short.
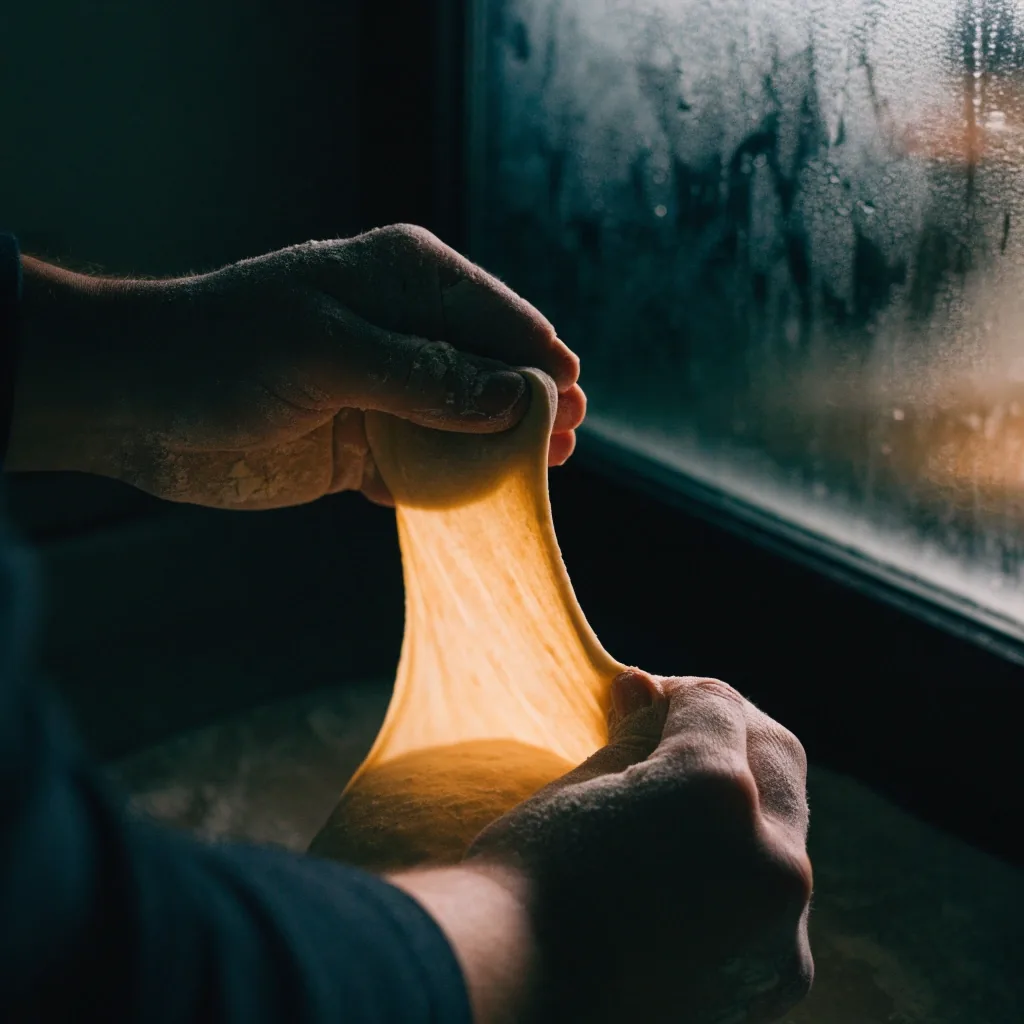
The windowpane test tells you when the dough is ready: stretch a small piece until it is thin enough to see light through without tearing. If it tears, it needs more time. If it holds, it is ready to shape.
The test beats a timer because dough behaves differently depending on room temperature, flour strength and how cold it came out of the fridge. In a warm kitchen, an hour may be plenty; in a cool one, the same dough can take three. The book treats the windowpane as the standard check for every style, and it explains what a partial windowpane means — ready to bake, but not yet at its best.
Stretch and fold, plus poolish
Two techniques that make wet dough manageable and give a plain crust more depth. Neither is required for a first bake, and both are worth learning once you are comfortable.
Stretch and fold
Used in New York and al taglioStretch and fold is a gentle way to build gluten without kneading. You lift one side of the dough, stretch it up, fold it over the middle, rotate the bowl a quarter turn, and repeat. Three or four sets with a short rest between them will do more for a wet dough than ten minutes of kneading on a floured counter.
It is used in higher-hydration doughs where kneading would be messy or counterproductive. The book applies it to New York-style and al taglio and explains how many sets each one needs, how long to rest between them, and what the dough should look like when the last set is done. Learn it early — it makes handling wet dough much easier, and it costs no equipment.
Poolish and preferments
A poolish is a pre-ferment made from flour, water and a small amount of yeast, left to ferment before it is mixed into the main dough. It adds flavor and makes the dough more extensible, so it stretches further before it resists.
The book uses it for New York-style and al taglio and explains when it helps and when it is unnecessary. If you are happy with your current dough, treat poolish as an optional upgrade. If you want a more complex crust, it is the next step after cold ferment.
Stone or steel — and how hot your oven really gets
Baking steel
Steel heats faster and transfers heat more aggressively than stone. That suits high-heat bakes and thin-crust styles where you want the base set in the first two minutes. It is heavy, it stays hot, and it will not crack if it gets splashed.
Baking stone
Stone is heavier and holds heat longer, which helps longer bakes and pan styles that sit in the oven for twenty minutes or more. It takes longer to come up to temperature and it can crack under a sudden temperature change, so handle it gently.
Either works. Preheat for a full hour on the top rack, and do not skip the preheat — a steel or stone that has only been in the oven for twenty minutes will give you a pale, soft bottom crust no matter how good the dough was. That is the single most common mistake in home pizza.
High-heat baking at home
Most home ovens max out at 500–550°F, which is below what a Neapolitan pizza wants. The workaround in the book is straightforward: preheat the steel for an hour, bake on the top rack, and broil for the last one to two minutes to get char on the crust. Watch it through the glass the whole time — the broiler does not forgive a distraction.
For pan styles like Detroit and focaccia, moderate heat is actually correct and the pan does the work. A hot steel under a cold pan is the wrong tool. Knowing which style wants which setup is the point of this guide, and it is why the book lists an oven setup for every recipe instead of one blanket instruction.
Bake schedule by style
Longer bar = longer bake in the oven
Shaping on a peel
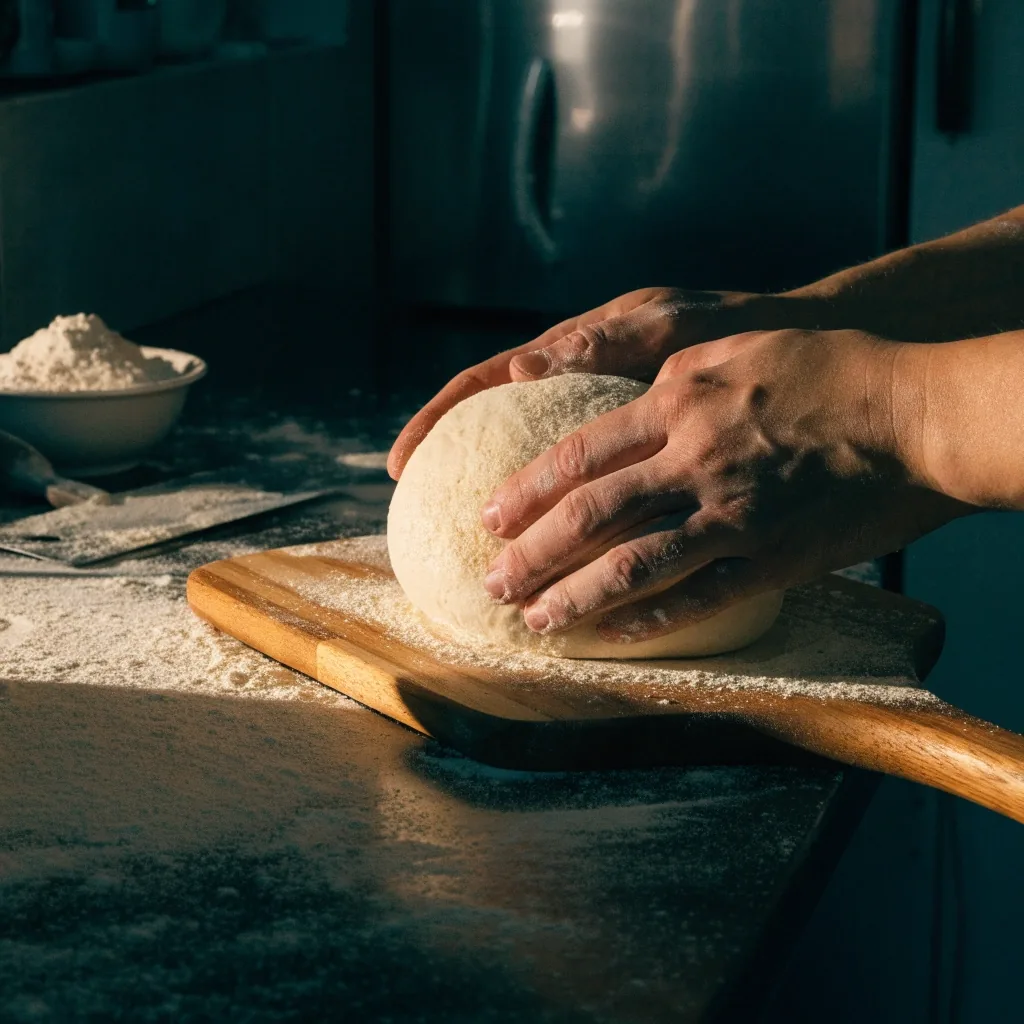
Shaping on a peel takes practice, and the first few attempts usually end with a pie folded onto the oven floor. Flour the peel lightly, shape the dough on a work surface first, then transfer it to the peel and top it quickly. Work fast at this stage — the longer a topped pie sits, the more moisture it pulls into the dough underneath, and the more likely it is to stick.
If the dough sticks, it is usually too warm or over-floured in the wrong places. Semolina or a coarse flour under the base gives you a better slip than a heavy coat of bench flour. The book covers the common failures and how to avoid them, including what to do if the dough tears.
A torn dough can often be pinched back together before baking, and a small hole will seal itself as the crust sets. If the whole round collapses, gather it back into a ball, cover it and give it ten minutes — then try again with less flour on the peel and a quicker hand.
Party cut and slice shop terms
The book uses trade terms where they are useful, and it defines each one the first time it appears. Knowing the vocabulary makes the recipes easier to follow, and it makes it easier to talk about what you are baking with anyone who has worked a counter.
A 24-hour cold ferment changes the crust more than any topping will.
That line is the whole reason this guide starts with dough instead of sauce. Get the ferment and the bake right and almost any set of toppings will taste good on top of it.
Troubleshooting common failures
Most failures come down to one variable, and once you know which one, the fix is usually simple. These are the three that show up most often in home kitchens.
The bottom crust comes out pale and soft
Almost always a preheat problem. A steel or stone needs a full hour at full temperature before the first pie goes on. If your oven runs cool or the rack sits low, the base sets before it browns. Move to the top rack and give the steel the full hour.
The dough tears while you are shaping it
Usually underproofed or overhydrated. Give it another twenty minutes covered, then try the windowpane test again. If the dough is very wet, shape it with lightly oiled hands and let gravity do more of the work than your fingertips.
The cheese pools grease across the top
Usually the wrong mozzarella for the style. Fresh mozzarella carries a lot of water and is meant for a fast, hot bake; low-moisture mozzarella holds up better on longer bakes and pan pies. The book's troubleshooting section covers these and more, with the fix for each.
Practice these techniques with the book
Dion's Pizza Cookbook collects the dough methods, oven setups and troubleshooting notes behind this guide, then pairs them with recipes from Neapolitan to Detroit, al taglio to tavern-style. Every recipe states its hydration, its ferment time and its bake setup, so you always know which technique you are practicing.
If you would rather see the range before you buy, the recipes page samples a few pies across styles, and the styles page explains how they differ. Questions about shipping or the book itself go to the author directly.
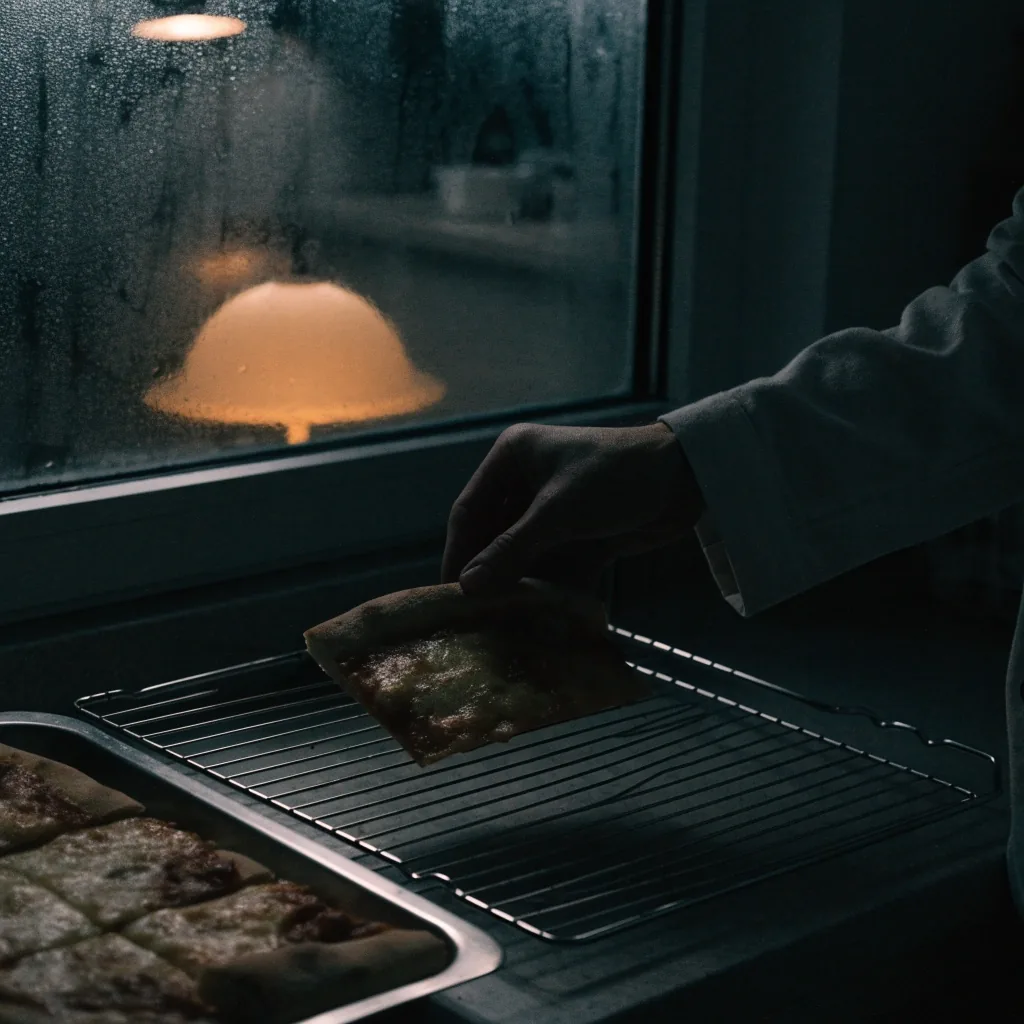
Al taglio, straight from the rack